In which I finally get my Innovate water temp gauge to work.
Warning!
In concept, this is a very easy job. But visibility and room to work is very limited. I cut my hands up and just generally found this job to be a pain. Also, because you are screwing a fitting into the block, you run the risk of not making a watertight seal and worse, you could cross-thread or strip the threads in the block. This is unlikely to happen if you are careful, but it is a risk.
Overview:
Part 1: Installation of Ford Racing Gauge Pod and multi-function Innovate gauges.
Part 2: Installation of Innovate Data Logger.
Part 3: Installation of water temp sensor for the Innovate water temp gauge.
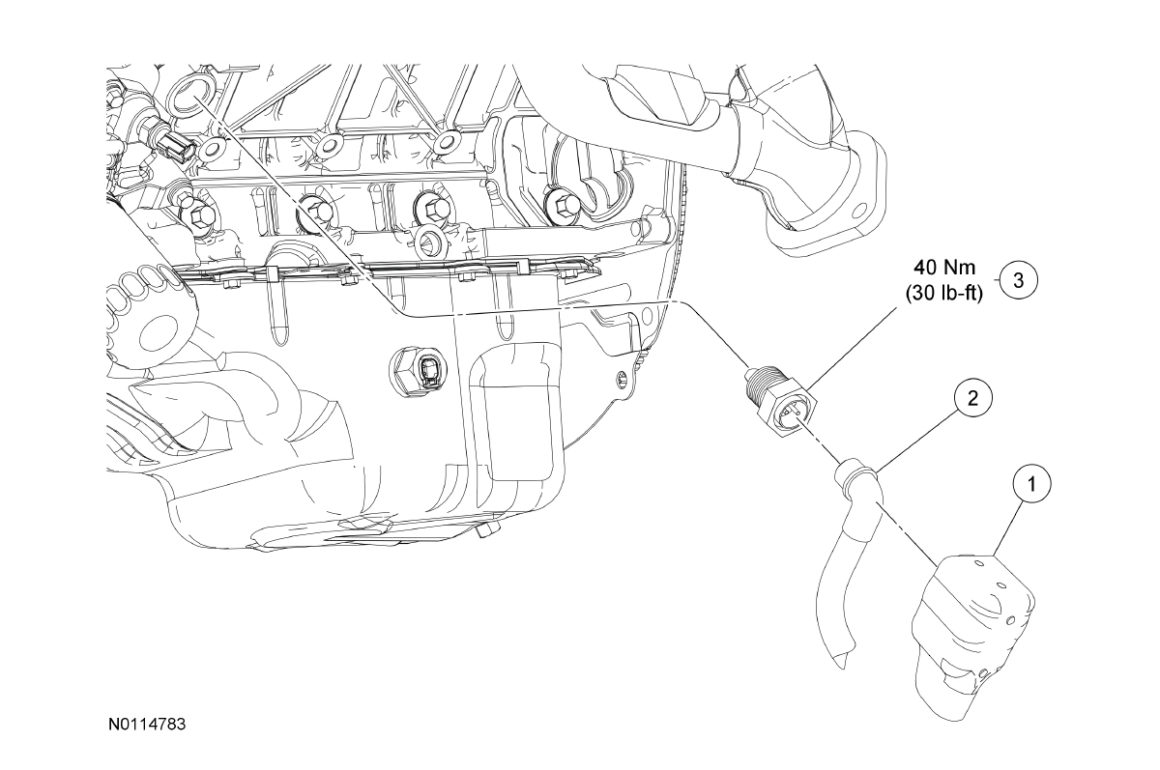
On the driver’s side of the 5.0 Coyote/Roadrunner block is a port for an optional engine block heater. Using an adapter fitting, a water temp sensor can be screwed into this port. The sensor cable runs very close to the headers, so the use of a protective heat sleeve is recommended.
Tools and Supplies:
A 14 mm internal hex socket isn’t something that everyone has in their toolbox, so make sure you get that ahead of time. Get the proper Motorcraft coolant, too. Here is what you need:
- 10 mm socket
- 14 mm hex drain plug socket
- High-temp RTV
- Motorcraft coolant (check your owner’s manual)
Parts:

3/4″ NPT x 1/8″ FNPT Hex Bushing
The key to this project is this adapter fitting. This should work for most applications, but please check your sensor thread size and get the proper fitting. I also recommend a protective heat sheath and stainless steel ties. A complete parts list is at the bottom of the page.
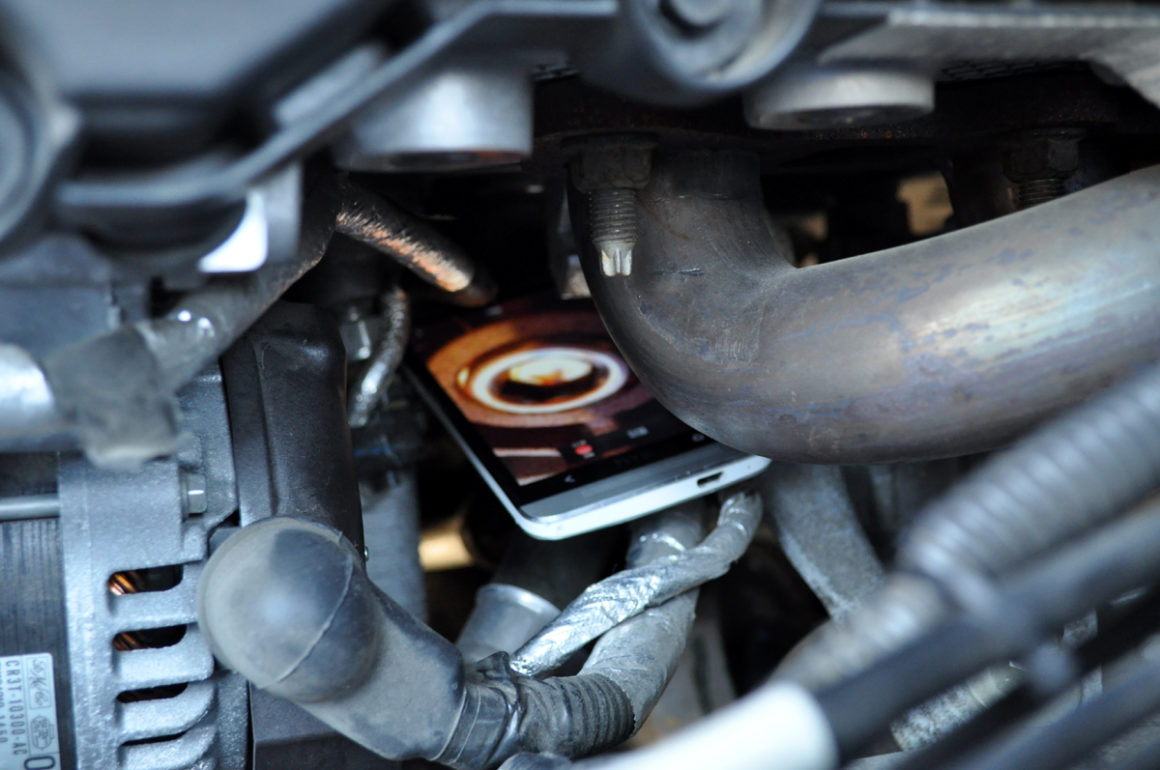
This is the only way I could see the block heater plug. Once I established its location, all work was done by touch.
Procedure:
1. Route sensor from the gauge and through the firewall (see Part 1).
2. Thread sensor and cable through protective heat sleeve and set it aside.
3. Use 10 mm socket to remove airbox.
4. Use 14 mm internal hex socket to remove block heater plug. Clean-up the coolant you just spilled everywhere.
5. Screw sensor into adapter fitting. Use high-temp RTV on threads (follow RTV instructions).
6. Screw fitting/sensor into block. Use high-temp RTV on threads (follow RTV instructions).
7. Use stainless steel tie wraps to secure protective heat sleeve over sensor cable.
8. Attach airbox to intake, but do not bolt it down. Leave it so you can observe the new plug/sensor and check for leaks.
9. Start car, check for leaks, and refill coolant as needed. Check gauge to make sure it works.
10. Use 10 mm socket to secure airbox.
Good luck!

Please pin, tweet, and share! Most importantly, let me know what you think in the comments below.
Appendix A – Parts List
3/4″ NPT x 1/8″ FNPT Hex Bushing
14 mm Hex Drain Plug Socket
Permatex 81878 Ultra Copper Maximum Temperature RTV Silicone Gasket Maker, 3 oz. Tube
DEI 010403 0.75″ Aluminized Sleeving Heat Sheath – 3′
DEI 010201 8″ Stainless Steel Locking Ties – Pack of 8


