In Part 1 of this series, I outlined the plan for my stereo upgrade and completely removed the stock Bose stereo. In Part 2 of this series, I installed new MB Quart component speakers and crossovers into the front doors. In this post, I will be replacing the factory 6×9 package shelf speakers with speakers also from MB Quart. I will also be installing two MB Quart amplifiers.
Package Shelf Speakers
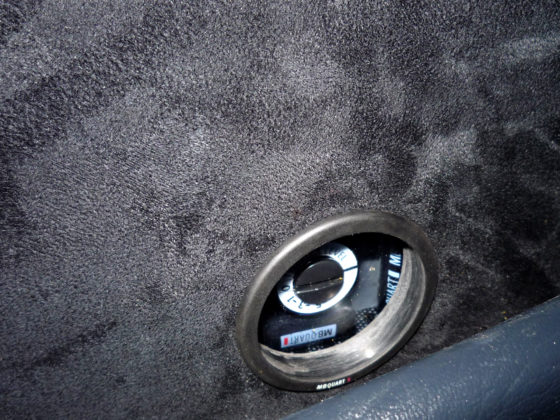
Like the tweeter installation from Part 2, this is easy. The Bose speakers located in the package shelf are very typical 6×9 speakers and can be replaced without much (if any) modification or fabrication at all. This is especially true if you plan to also replace the speaker grilles. However, I have decided that I wanted to do a stealth installation in the cabin, in order to maintain design congruity and for security. So, I wanted to use the Bose speaker grilles with my new MB Quart speakers.
First, I removed the speakers from the car. From inside the trunk, simply unplug the speaker wires going to the speakers and unscrew the three Philips screws holding each speaker in place. Then push the speakers out onto the package shelf and remove them from inside the car.
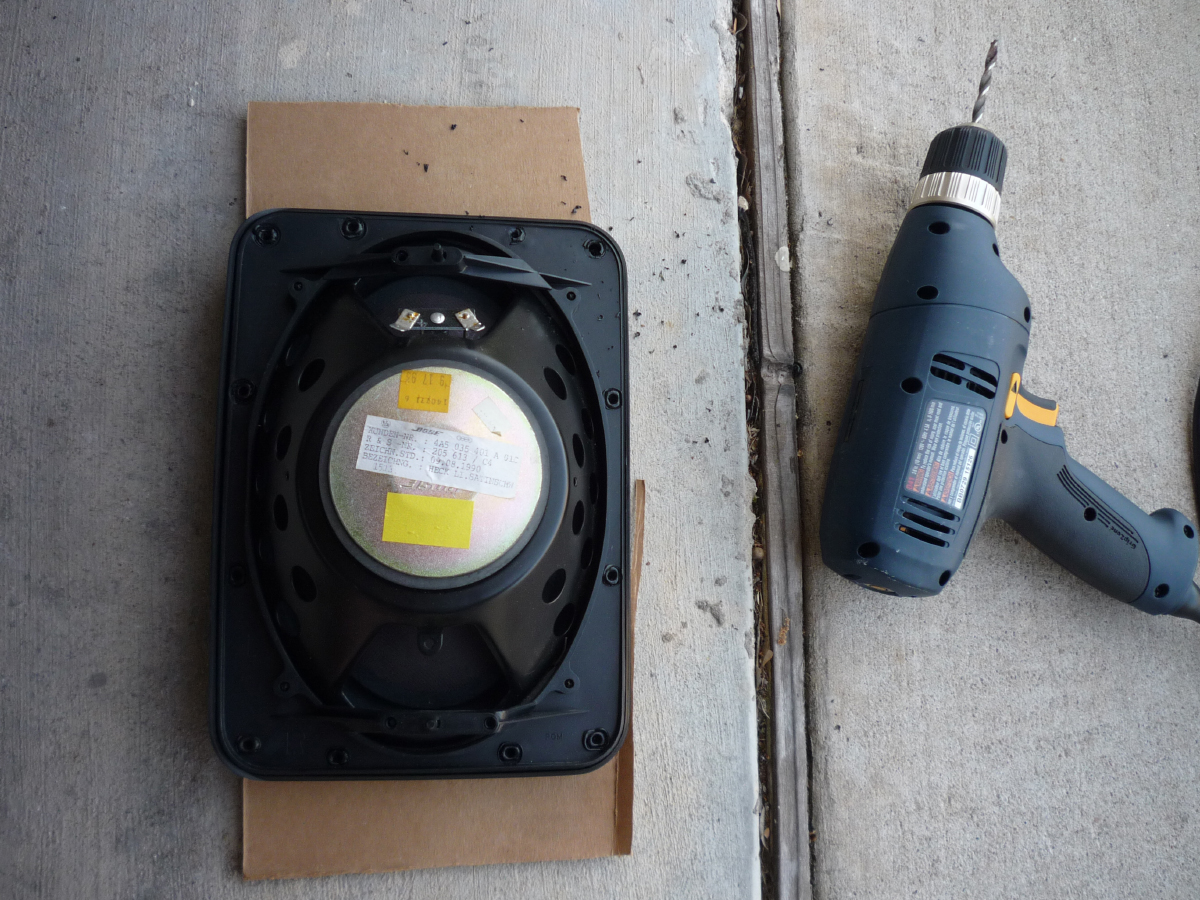
The speakers are sandwiched between a plastic mounting basket on the bottom and the plastic grille on top. In order to separate the two pieces, I drilled-out the plastic rivets.
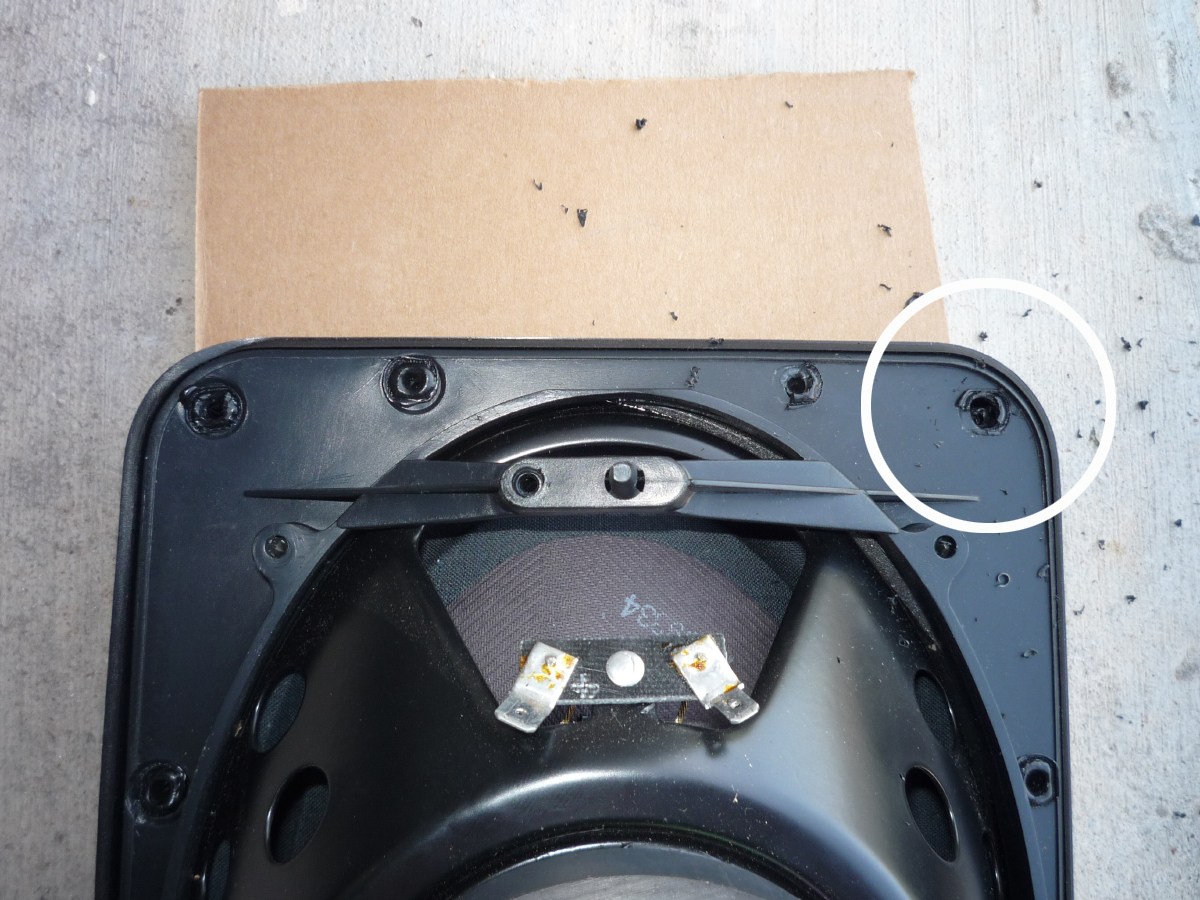

I was a little careless drilling-out the plastic rivets (okay, they aren’t exactly rivets, but I don’t know what you call them), which left the mounting posts on the grille at various lengths. This would be mildly irritating later, so I would recommend drilling slowly and only just at the top of the rivet. That’s usually all it takes to break them free and then all of the mounting posts will remain at an approximately uniform size.
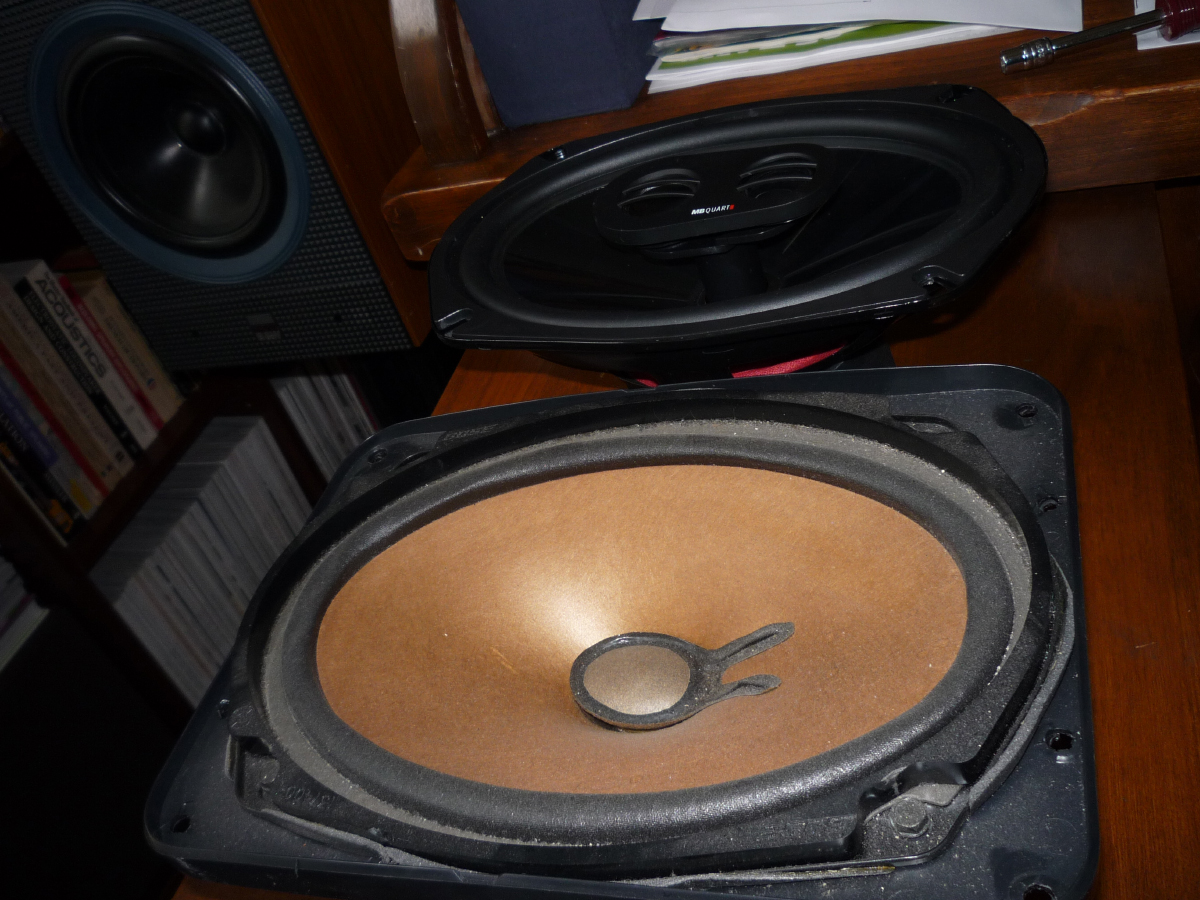
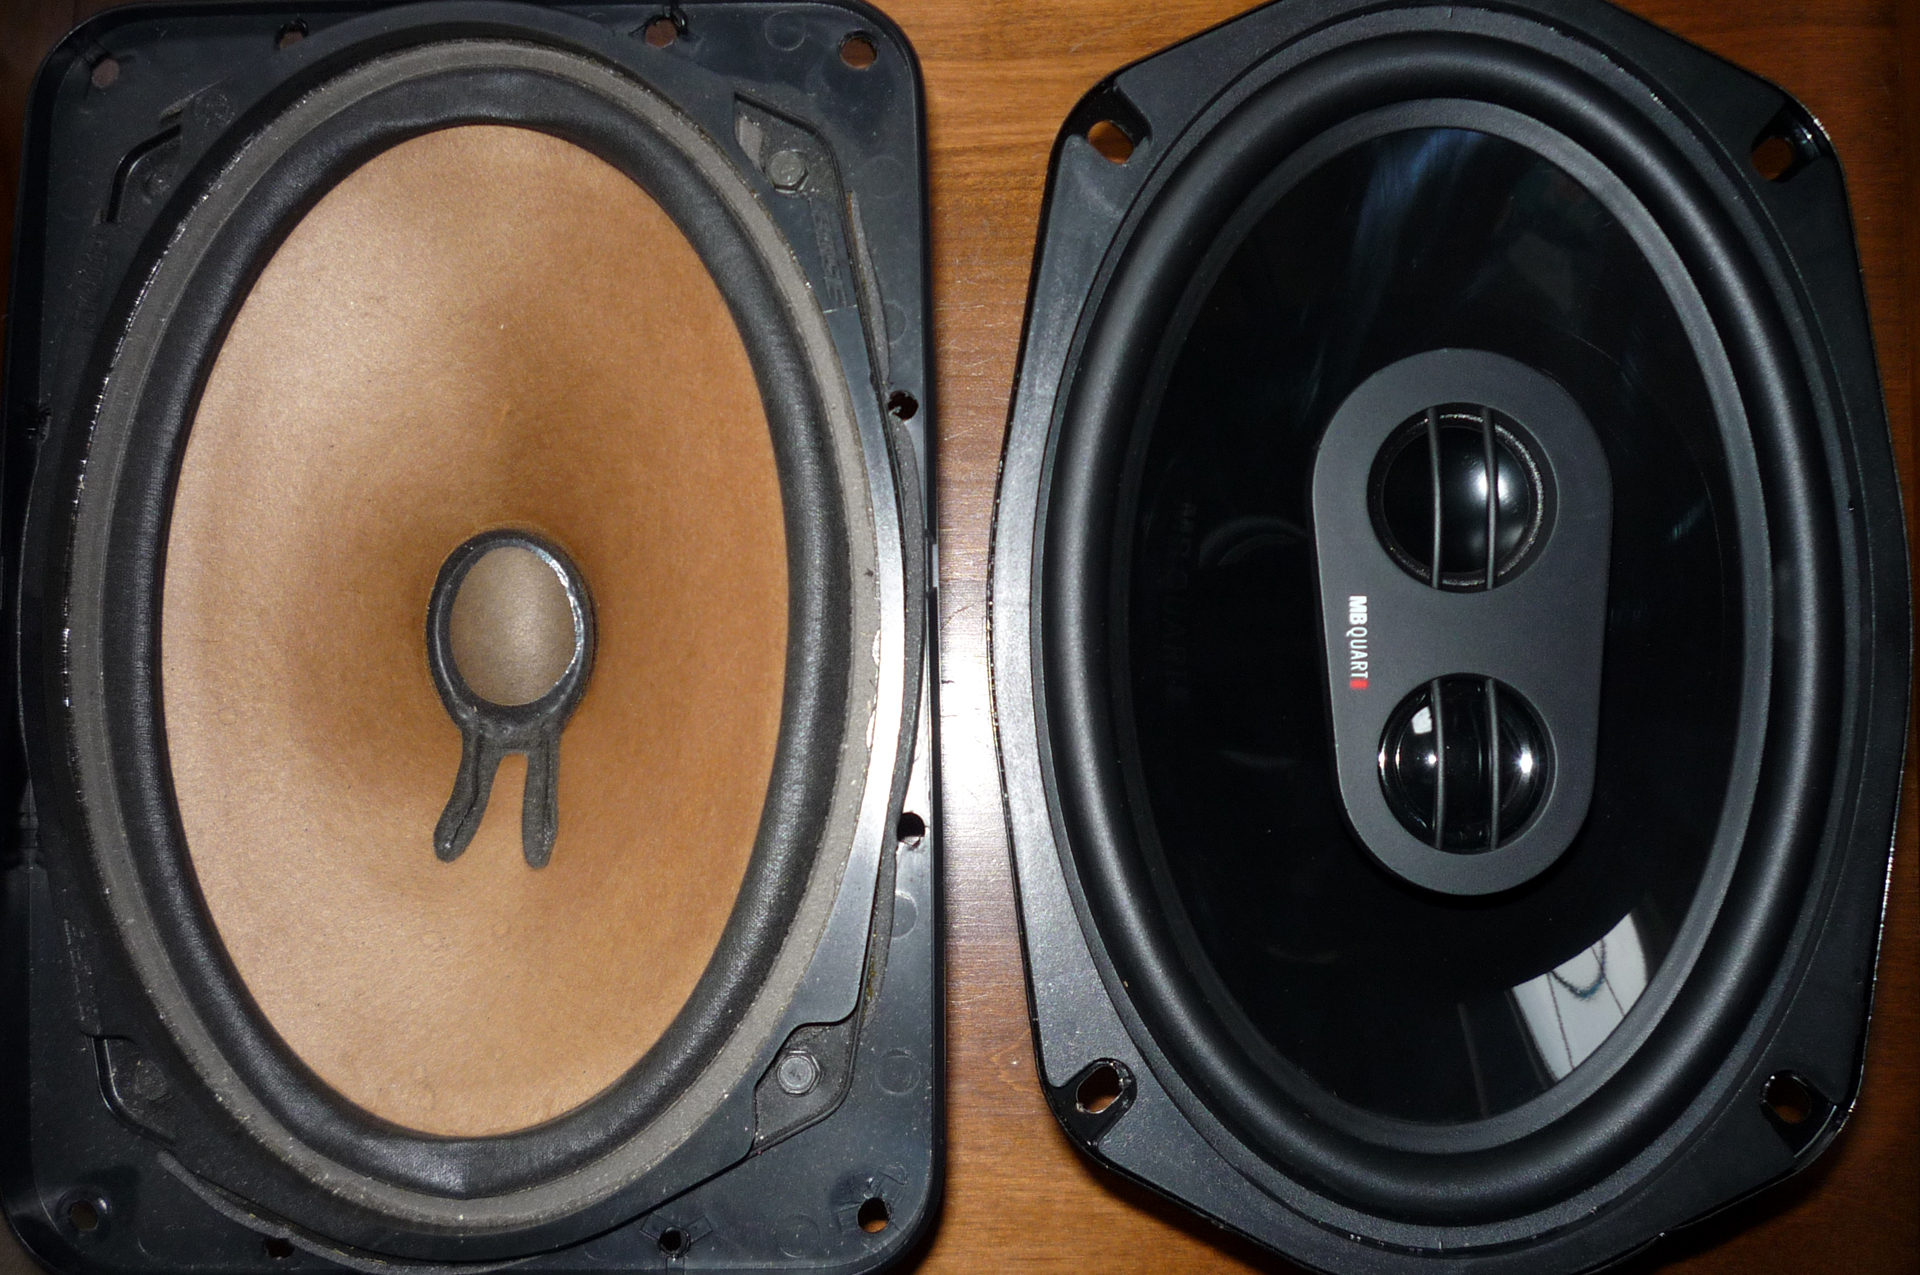
So, here is what we have in my office: Master Handbook of Acoustics (Second Edition) on the shelf, a B&W Matrix speaker, a new MB Quart speaker, and the old Bose speaker, which looks like it has a cone constructed of…butcher paper. Honestly, the tweeter looks like it is made of butcher paper, as well. Oh, dear.
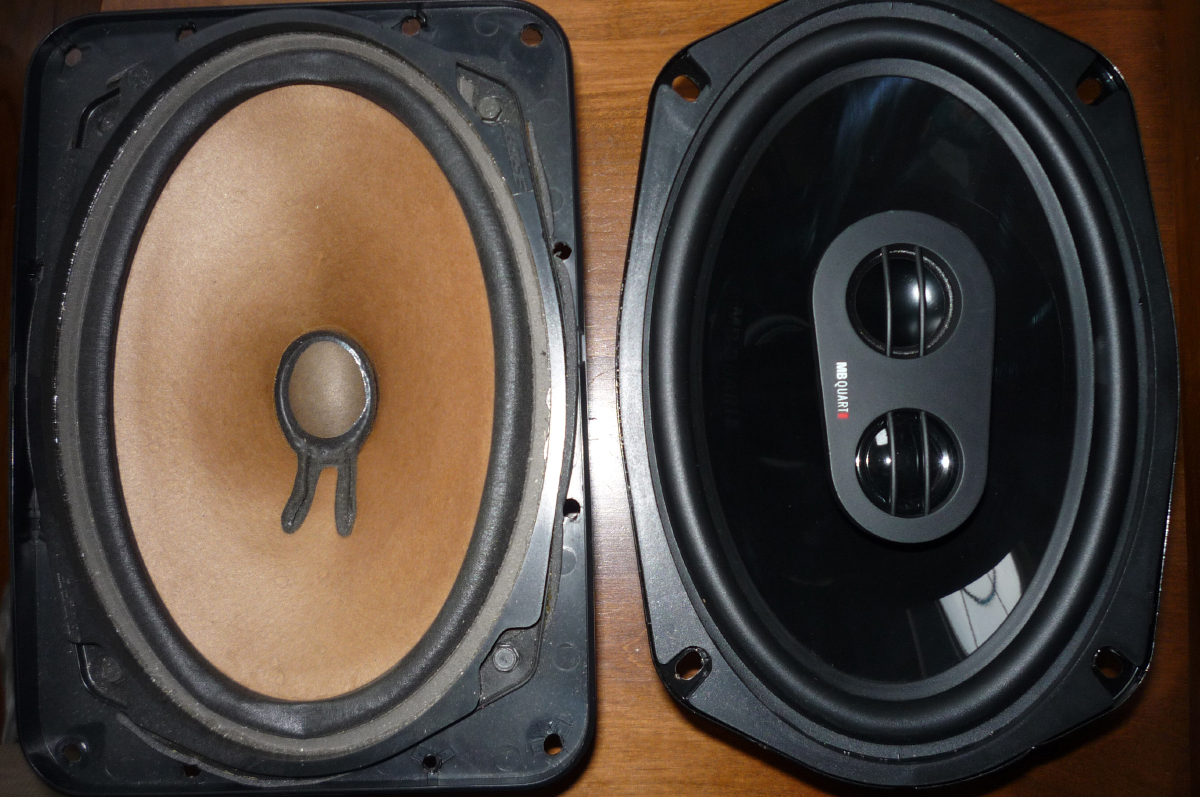
Here is a good comparison photo. In this photo, you can also see the four 7 mm screws that secure the speaker to the mounting basket, which secures the speaker to the car. Notice that the mounting holes in the MB Quart are very similar. However, when I tried to install the new speaker into the mounting basket, the mounting holes were off just enough that I had to use a Dremmel tool to grind away enough material around the holes to allow room for a socket. Another solution would be to simply replace the hardware with Philips screws, or the like.
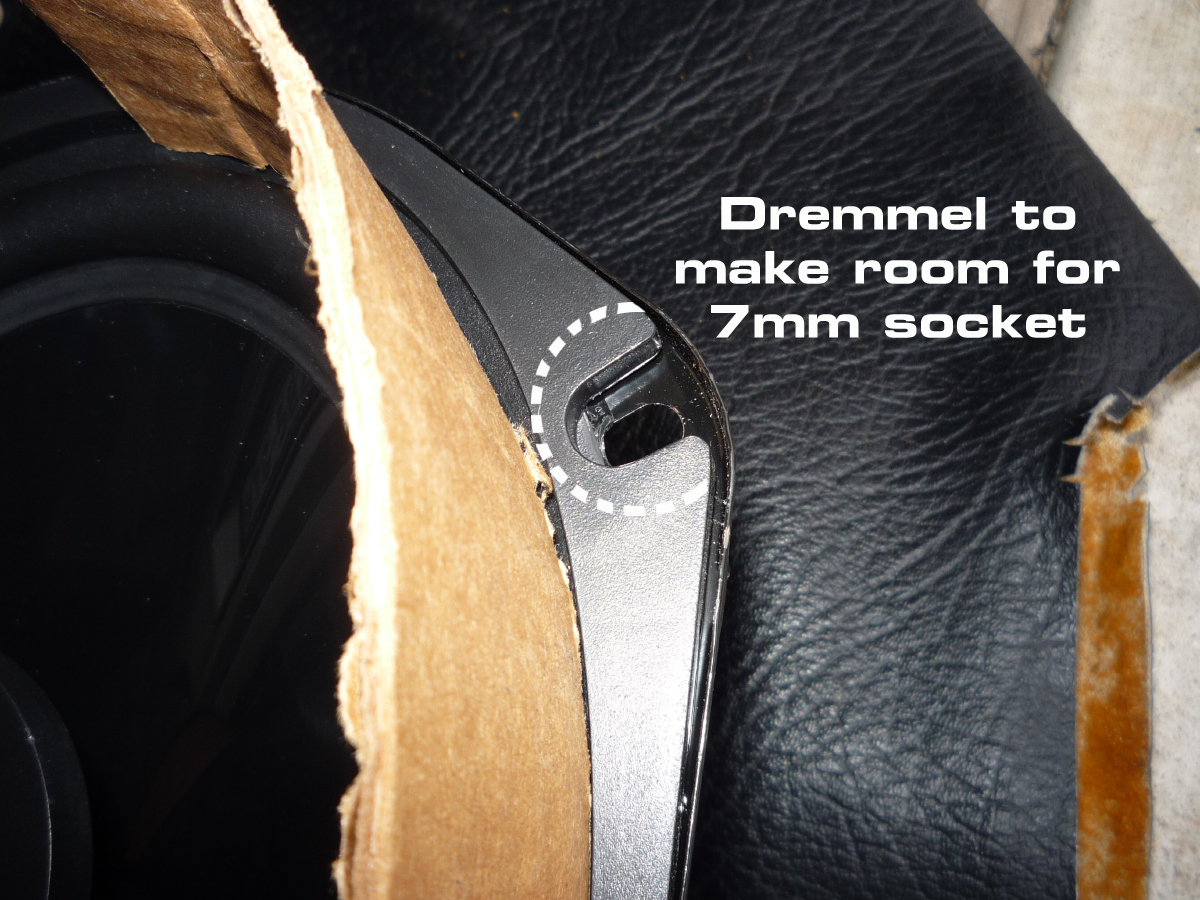
Notice that I used a cardboard shield in case the Dremmel jumped. I didn’t want to grind away anything important on the driver itself. Also, my diagram above isn’t exactly to scale; I didn’t have to grind away that much material. After I ground the clearance for a socket, the speakers fit into the baskets perfectly.
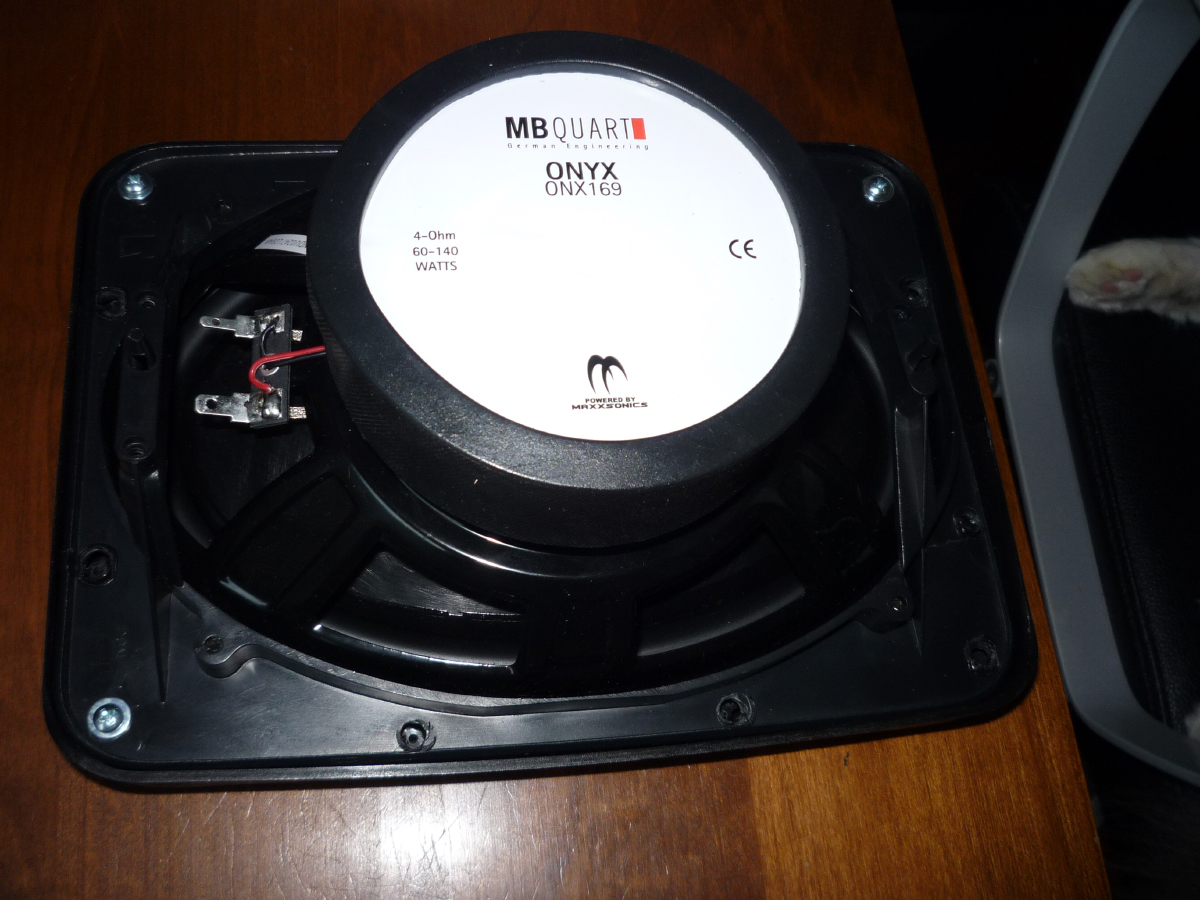
I secured the grille onto the mounting basket with a few screws inserted into the plastic “rivets” mounting posts. You can see a couple of unused posts peeking-out from under the mounting basket. The posts are fragile and break easily if you use a screw that is too big or if you over-tighten. This isn’t too important, since these screws only secure the grille. I used three on one speaker and four on another, but you could probably get away with two on each, unlike Audi/Bose, who used four screws to hold the speaker to the mounting basket, only three screws to hold the mounting basket and speaker to the car, but TWELVE plastic rivets to hold the grille down! They really, really, really did not want you to remove the grille and see their butcher paper speakers, which at least sound better than their invisible tweeters.
It’s difficult to see in the photo above, but the speaker connectors almost interfere with the mounting basket, so I will be using 90 degree connectors.

Reinstalling the speakers is as simple as dropping them into the package shelf and then screwing the mounting baskets down (three screws per side) from the trunk. Reconnect the speaker wires.
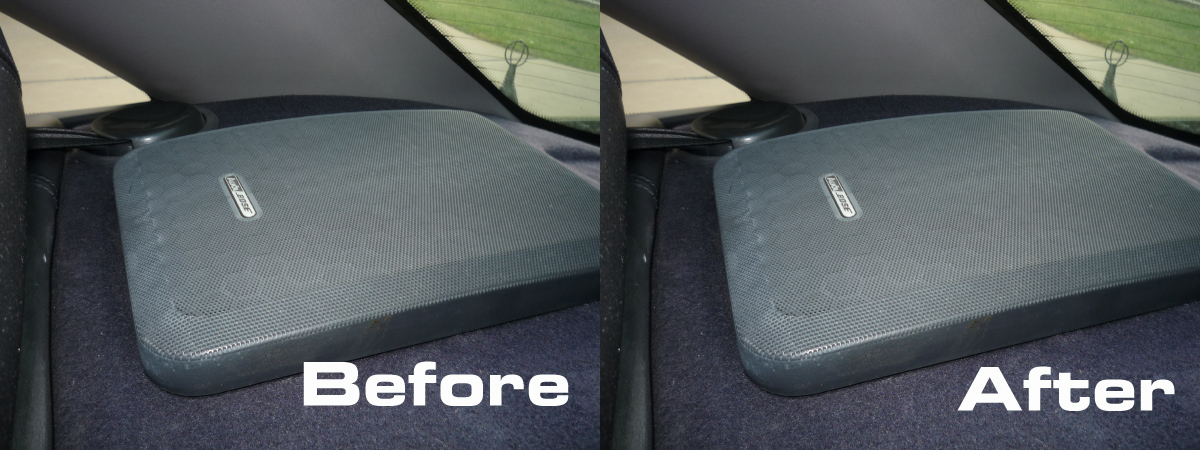
Finished!
Amplifier Installation
I’m not going to spend much time on this, because there are just too many individual choices and considerations when deciding on an amplifier setup. I’m also not going to explain how to plan, install, and wire an amplifier, since there are already so many resources available. I’m just going to explain a little about the factory setup and then discuss my design and installation choices.
The Bose amplifier is screwed to the underside of the package shelf. Remove the three connectors and the two screws to remove the unit. The unit itself contains two discrete amplifiers, one for each rear channel, which are identical to the individual amplifiers found in the front door modules.

I don’t know anything else about these amps, except that on ’91 Audi 200 turbo quattros, there were reports of these amps causing fires, some resulting in totaled cars. I have never heard this reported about a system in an S-Car, and according to this excellent page from Chris Miller’s archived site, Bose found the problem and changed one of their component vendors. No problems were reported after that.
Anyway, I will be replacing the Bose amplifiers with two new 2-channel amplifiers from MB Quart. Obviously, one will drive the door speakers and one will drive the package shelf speakers. Also, even though I decided on a stealth install in the interior of the car, I chose to display the amps in the trunk. They aren’t much to look at, just two black metal boxes, but I want to see them. It’s no different than looking under the hood of a car, I suppose. Also, the amp mounting board will serve as a cosmetic cover for the sub box that I will almost certainly install at a later date. Being open to the trunk will also help with heat dissipation.
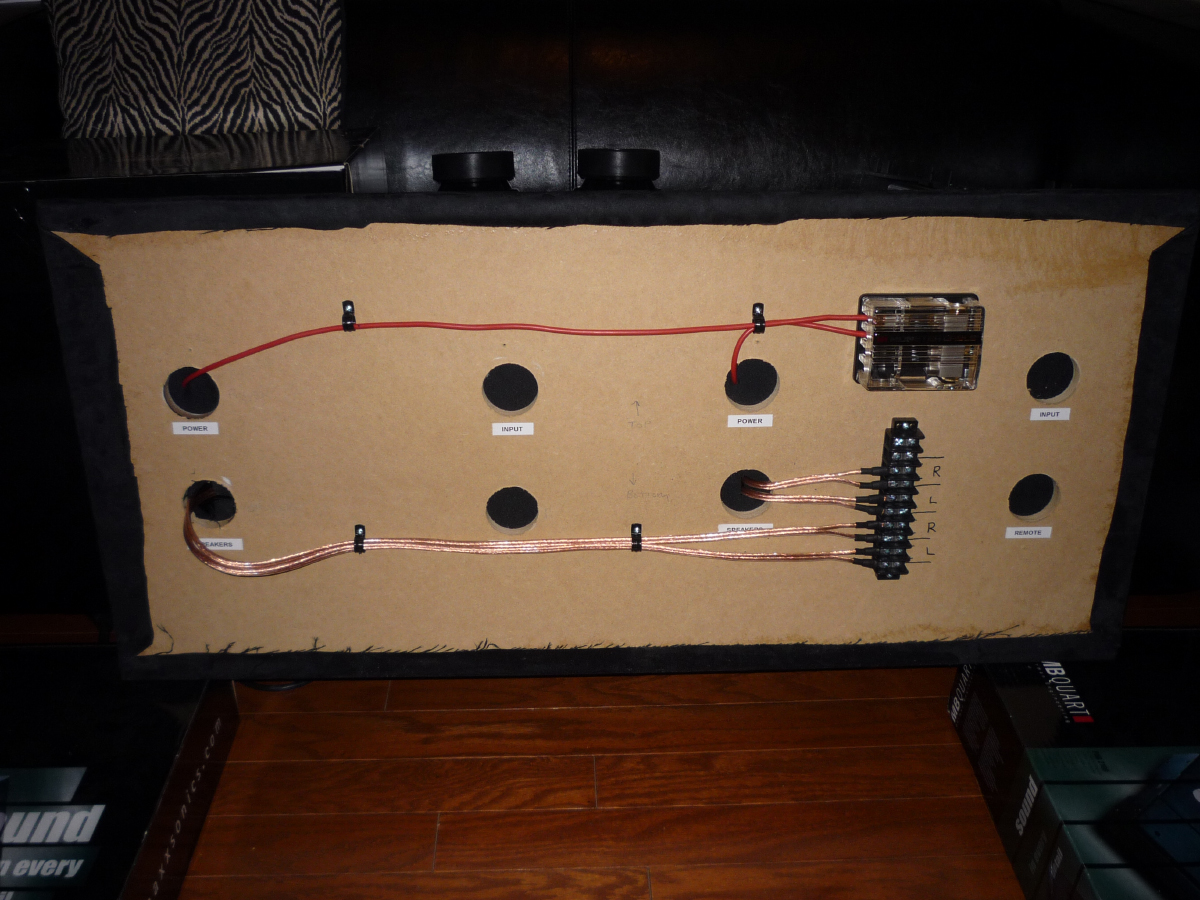
This is the back of the unfinished board. It’s designed so that if I need to temporarily regain my trunk space, I can pull the board towards the back of the car, disconnect all of the wiring in one place, and pull the board out of the car.
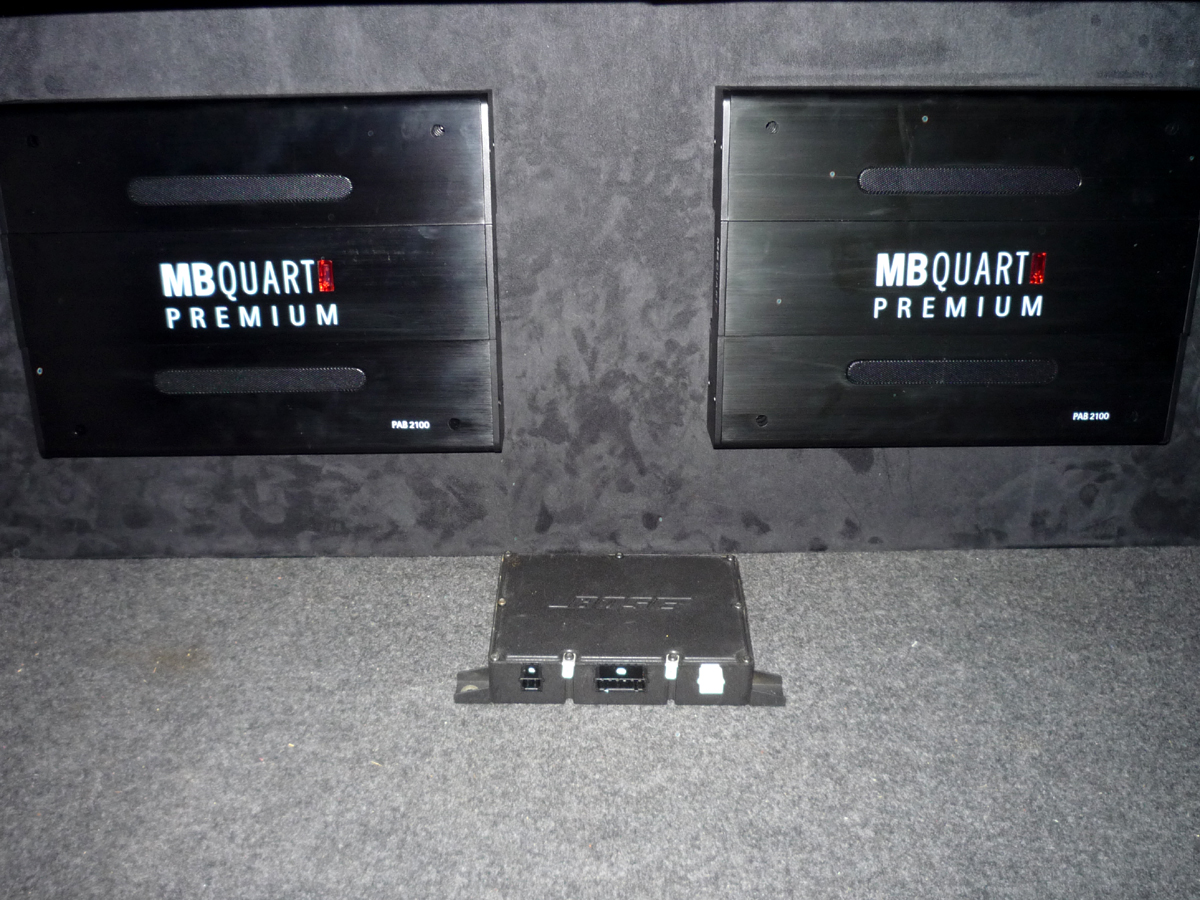
This is the front of the board. The amps are designed so that all of the connections are beneath the outer cover, so there is no danger of FOD from loose material in the trunk.
In Part 4, I will discuss the new head unit and installation of an iPod and iPod control cable into the center console.

Please pin, tweet, and share! Most importantly, let me know what you think in the comments below.


3 comments
Hey Jimmy! Any chance of restoring the pictures to this great writeup?!
Hey, Brendan! The last time I updated my site, I broke it pretty badly. I have been having to restore pictures page by page. These posts were far down the repair list, because I doubted anyone used them anymore. Glad to hear you guys are still getting some use out of them. They should be all fixed now. Let me know if you see anything else that’s broken that you want to see. Cheers!